v2.3
Select IDE
Visual Studio Code
IntelliJ
Visual Studio
Home
Blog
Knowledge Base
Download
ℹ️ Introduction
📜 Release History
🔥 What's New
💻 User Guide
🛠 Installation
🆔 Log In
🧰 Features
▼
▶
Chat Conversation
Predefined Actions
CodeVista Streak
Autocomplete
Autodoc
Autofix
Inline Chat
Web Search
Feedback System
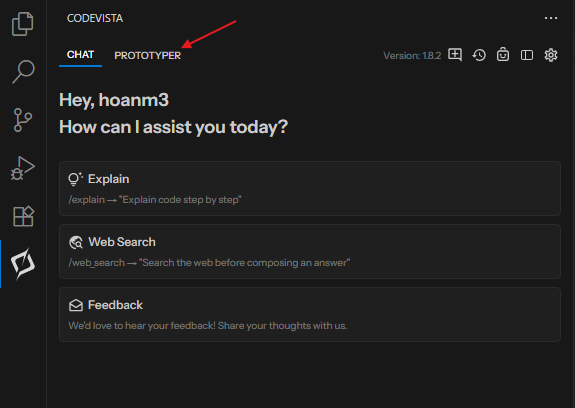
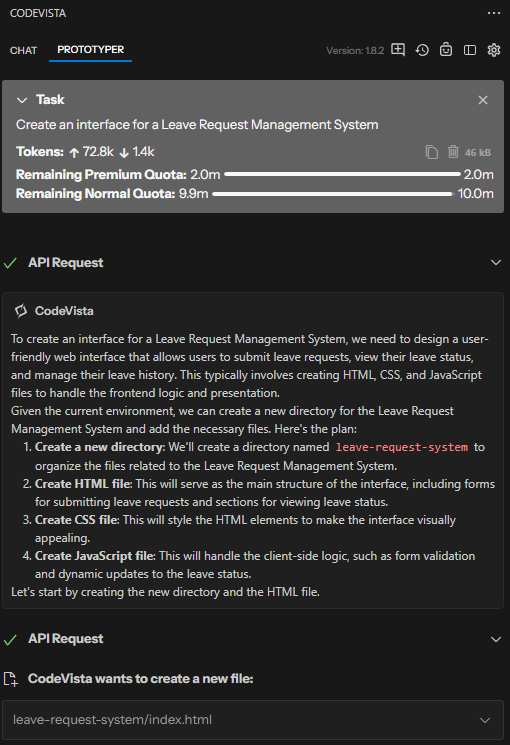
Prototyper Agent
Prototyper Agent
💲 Usage Quotas
❗️ Instructions for Internal FPT Users
❔ FAQ
Visit xVista Homepage
On this page
Step 1: Access Prototyper Agent
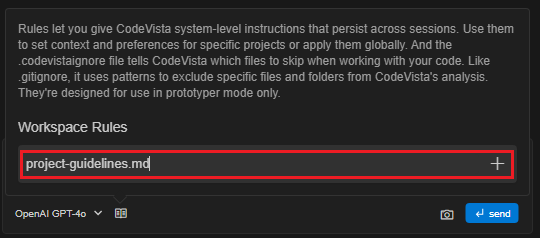
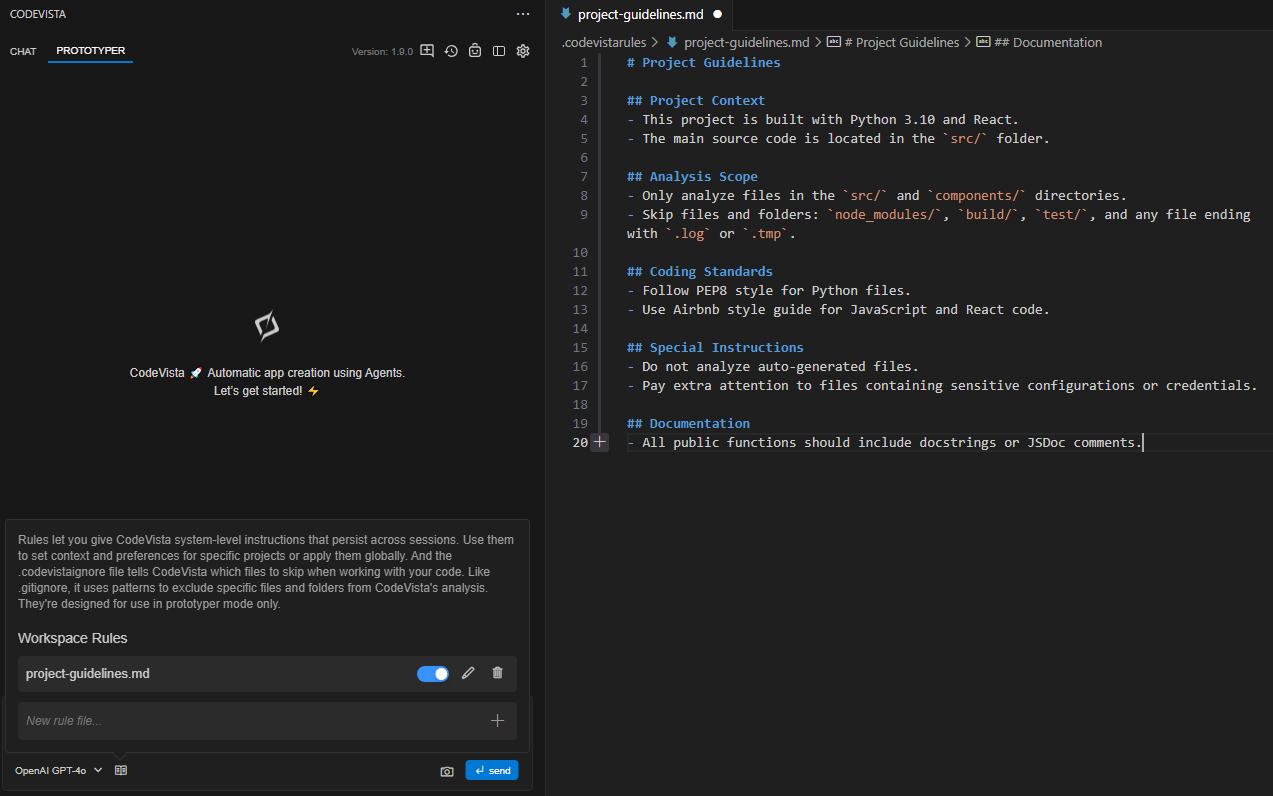
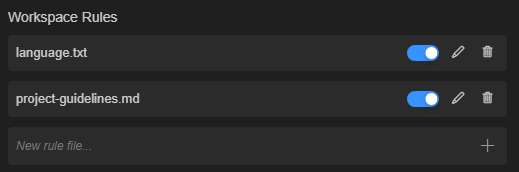
Step 2: Settings approval
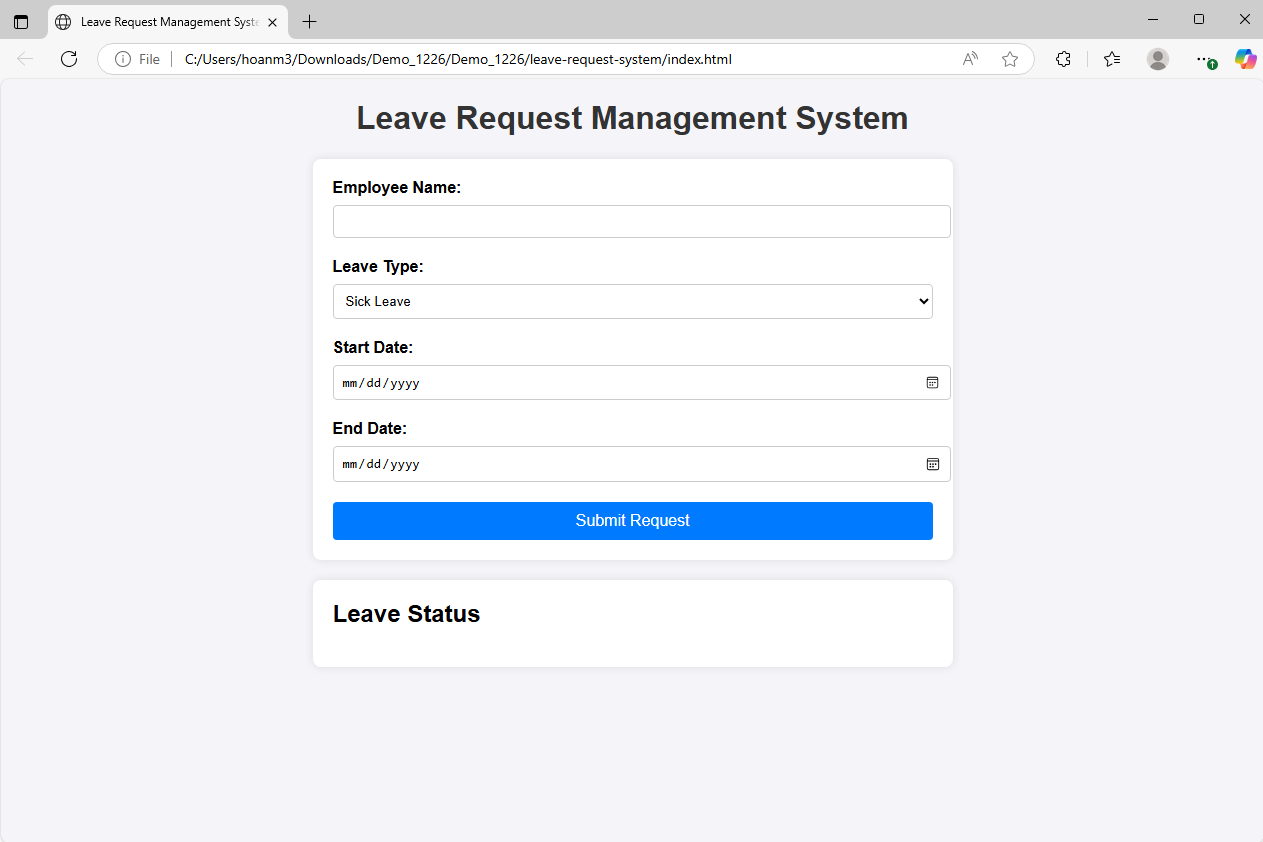
Step 3: Enter your prompt and send to Prototyper
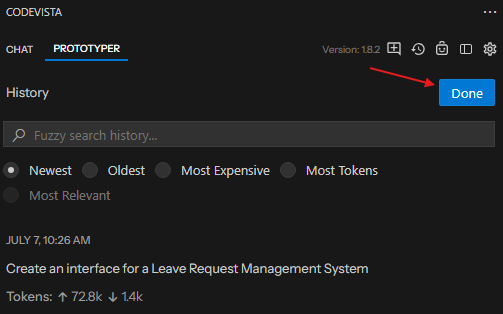
Step 4: Review previous tasks